How to Make the Most of Apple’s Reminders App
Alison Anderson
22 Jan 2023
oing on a long day and need to remember everything you need to do? Constantly forgetting when to pay your bills? With Apple's Reminders app, you can easily manage all your tasks in one place. You may be familiar with Apple’s Reminders app and its use for creating lists, but you may not have realized just how powerful this tool can be. With a few clever tips and tricks, you can make the most out of the features available in the app and maximize your productivity. Here is a guide to help get you started on making the most out of Apple's Reminders app.
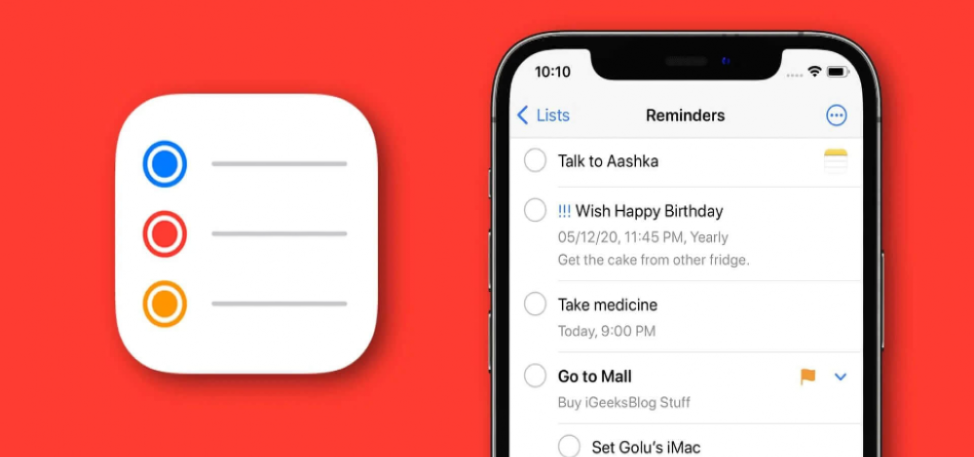
Step 1: Create lists
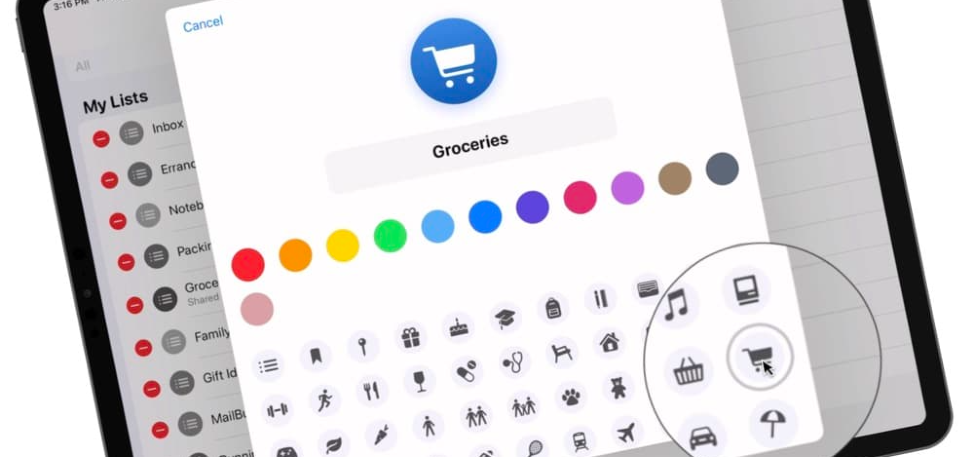
The first step is to create lists that allow you to organize and categorize your reminders. You can create as many lists as you need - from grocery shopping or household chores to important deadlines or events - and name them accordingly. You can also highlight each list with different colors or add notes for more information about what it contains. To create a list, open the app and select "Lists" at the bottom of the screen. Then click "New List" to add a list. You can also add sublists by clicking "Edit" in the upper right corner and then selecting "Add Sublist."
Step 2: Add tasks to the list
Once you've created all the lists you need, start adding tasks by clicking the "add task" button. If necessary, set reminders for each task so that they appear at a specific time or place, depending on what works best for each situation (for example, if it's a meeting - remind yourself 15 minutes before it). You can also assign priority levels and mark certain items to make them stand out from other tasks. Once added, each item will appear as an entry in the appropriate list, which you can view by clicking the "All" or "Remaining" button.
Step 3: Create subtasks for complex projects
When it comes to projects that require multiple steps to complete - like planning a vacation - consider creating subtasks to help break down complex activities into simpler parts so they're easier to manage and track progress toward completion. That way, it will be much easier when it's time to work through each part in turn until the desired outcome is achieved.
Step 4: Use smart lists to improve your organization
Smart lists are special types of lists that automatically update based on criteria set by users, such as location information or date/time information related to upcoming reminders (such as those due today or tomorrow). They provide an additional layer of organization because users can not only see which items fall into certain categories but also how far away from completion an item is (or when should I expect the next due date for a bill?). In addition, these smart lists take up no memory space because everything is stored locally on users' devices rather than on servers on the Internet, which makes them even better than regular lists!
Step 5: Prioritize lists and items
With many tasks needing attention on various lists, sometimes prioritizing each one can help get things in order better than before! To set priority levels, simply swipe to the left on any item when viewing the corresponding list; after swiping the item, two options, "Low Priority" and "High Priority," will appear, allowing the user to choose the option that best suits them (pressing the back arrow takes the user home). This feature is especially handy when working on multiple projects at once, providing some level of organization of everything that needs to be done during the day.
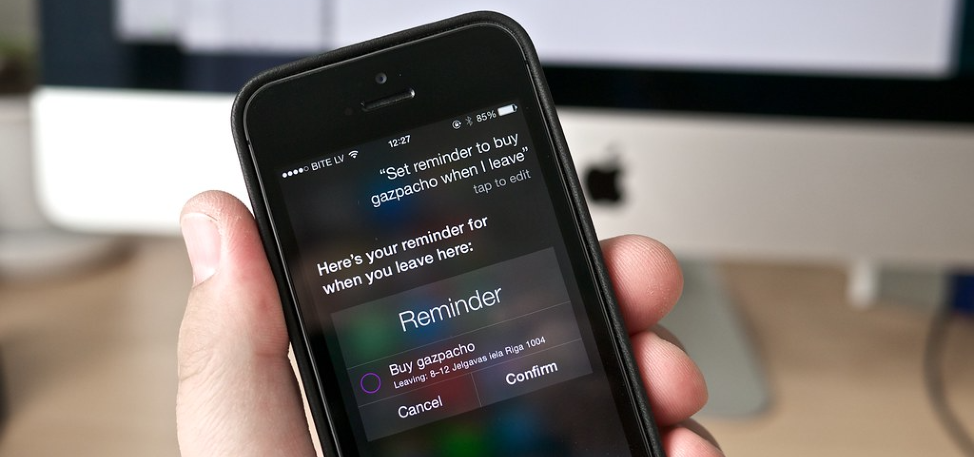
Step 6: Use Siri and share reminders when you need them
Using Siri makes creating reminders incredibly fast, as all the user needs to do is say "Hey Siri" and then indicate the task to be done - no typing required! Also, sharing reminder lists with family members makes group tasks much easier than if everyone was trying to remember something individually; this works especially well when trying to coordinate something like birthday gifts between multiple people without forgetting their roles!
Step 7: Share lists with others
Working together on the same goal often requires collaboration with others to get the task done faster than later; fortunately, sharing specific reminders/whole lists with others couldn't be easier, thanks to Apple's iCloud technology combined with the companion suite of apps currently available for the iPhone, which allows seamless collaboration between devices, regardless of platform, via the cloud sync option found in the app settings themselves. All collaborators must sync their accounts on their devices in advance, but after that, sending/receiving information becomes an easy walk, regardless of the distance separating the participants in the process - really convenient!
Step 8: Use the search function
Because so many people use the same words describing the same thing, searching through a lot of content quickly becomes a hassle, especially in large-scale operations where hundreds of thousands of records represent a database. Fortunately, Apple has provided a powerful search feature right in its dedicated reminders app, allowing users to sift through relevant data quickly and efficiently, making finding exactly what they need easier than ever before, regardless of the complexity of the situation the search may entail - a terrific thing if you ask the opinion!
Step 9: Use advanced features
For those who want even more control over their reminders, there are plenty of advanced features, such as adding a location, so notifications appear when you enter/exit from specific locations; setting priority levels; adding notes and attachments; sharing lists, etc. All of these options are available in the settings after clicking on the edit icon next to the desired list, allowing users to customize their individual experience exactly according to their needs and preferences every time they open the app!
Step 10: Track Progress and Completion Dates
Tracking not only helps you stay organized but also serves as motivation because by seeing where one stands in relation to others, you can continue your efforts to achieve goals faster than previously thought! In addition, if you suddenly need to review past accomplishments, the "Notes" section allows you to add notes related to any particular task/reminder - perfect for those trying to recall details related to individual events/actions taken while completing a project! Finally, by setting completion dates, you and everyone involved can better understand the expected timeline for the task(s).
By following these ten steps, everyone can seamlessly start using Apple's handy reminder app effectively from day one - maximizing productivity and keeping track of all important short- and long-term goals.